How to apply worm castings ~
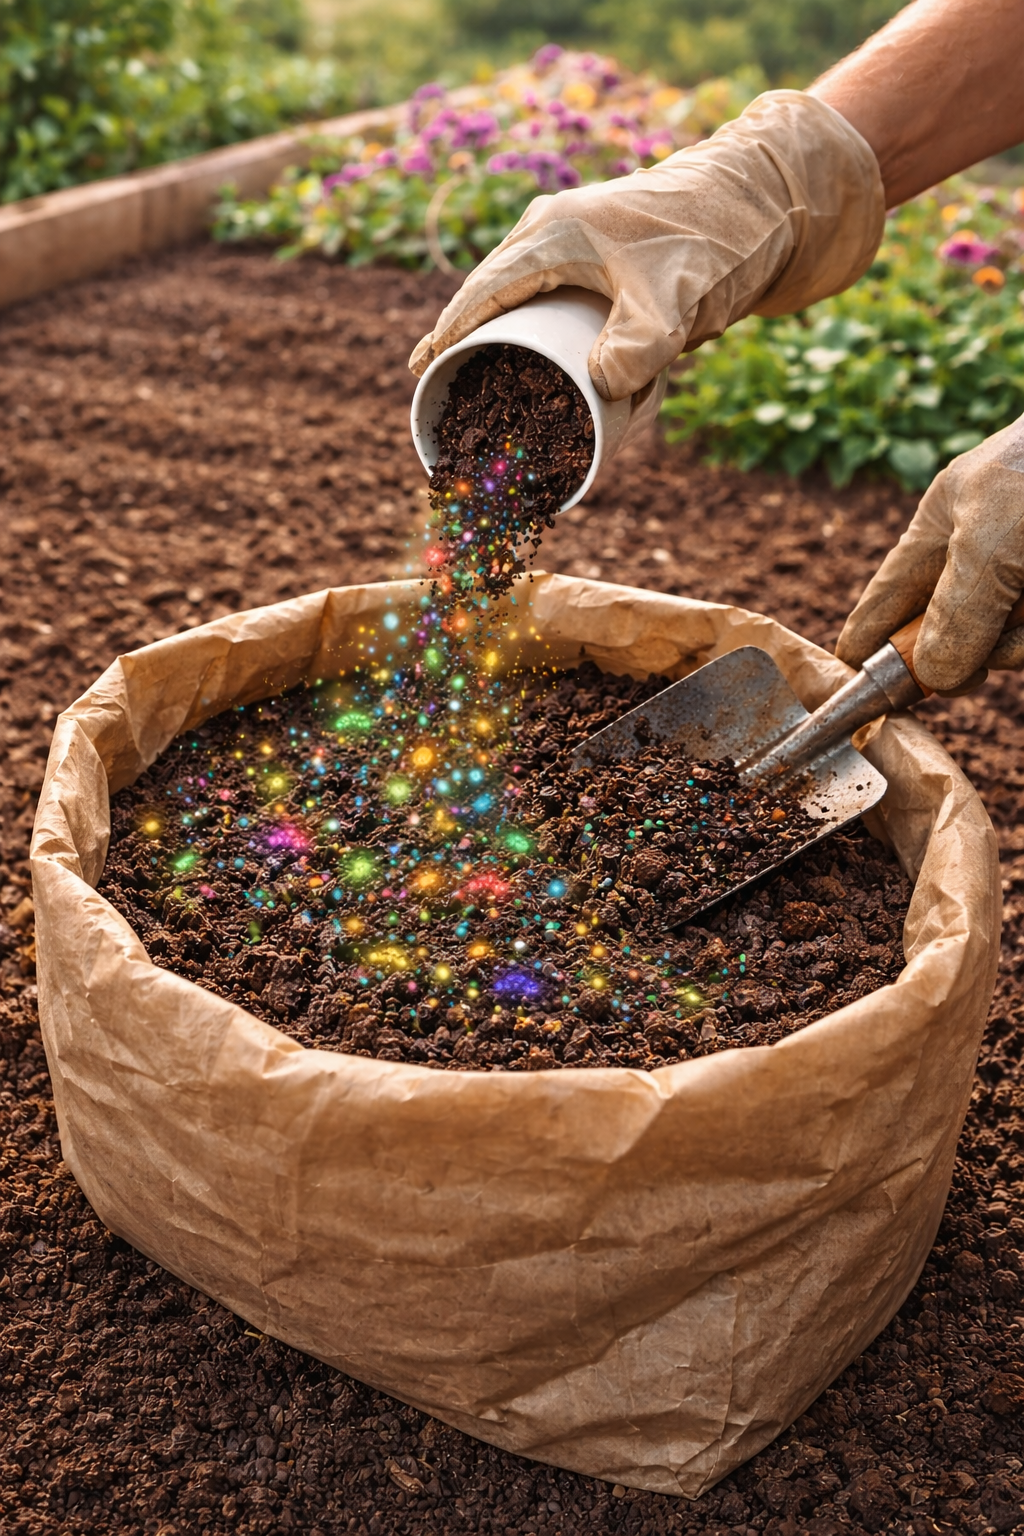
Option 1: Mix your fresh worm castings into your potting mix
Mix a small amount of worm castings into your potting soil before planting to introduce beneficial microbes, natural nutrients, and living biology that help plants establish strong roots and grow vigorously. Even a few handfuls blended evenly through the soil can transform an ordinary potting mix into a living soil ecosystem. Avoid adding chemical fertilizers when using worm castings, as synthetic fertilizers can harm or kill the beneficial microbes that make living soil work. By letting the natural biology thrive, your plants can access nutrients the way nature intended.
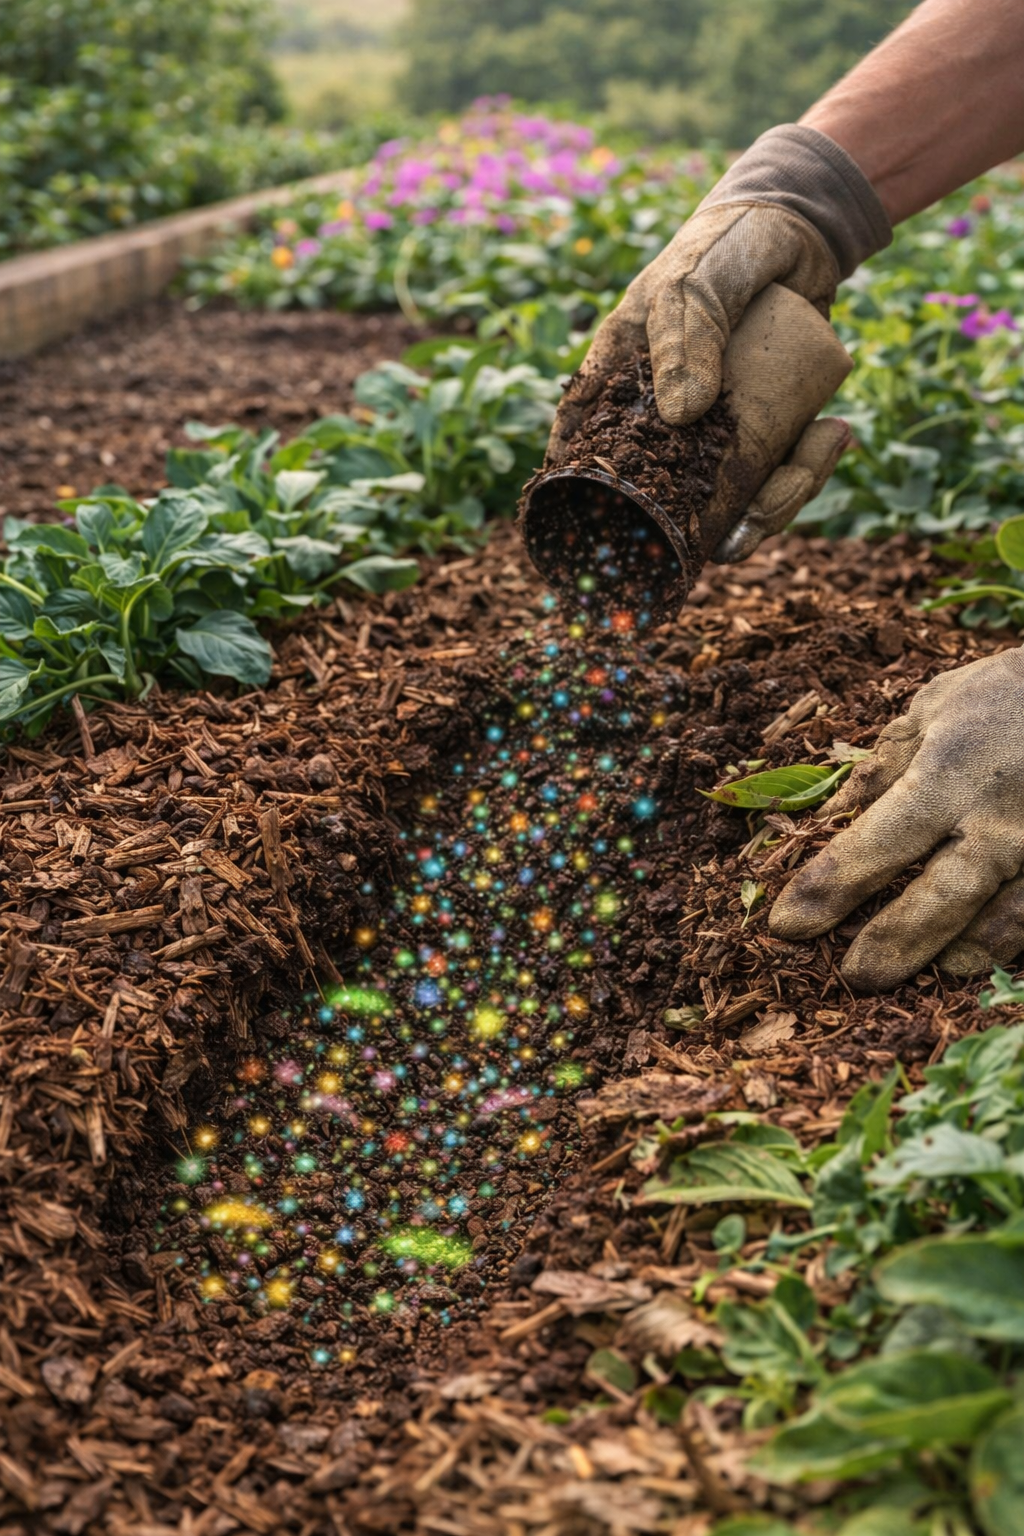
Option 2: Add your fresh worm castings as a top dressing
Apply worm castings as a top dressing by gently pulling back the top layer of soil or mulch and spreading a thin layer of castings about ¼ inch below the surface around your plants. Once applied, cover the castings again with the soil or mulch you moved aside. Keeping worm castings slightly buried helps protect them from drying out, which is important because moisture keeps the beneficial microbes alive and active. By placing them just below the surface, the living biology can move into the surrounding soil and begin supporting plant health naturally.
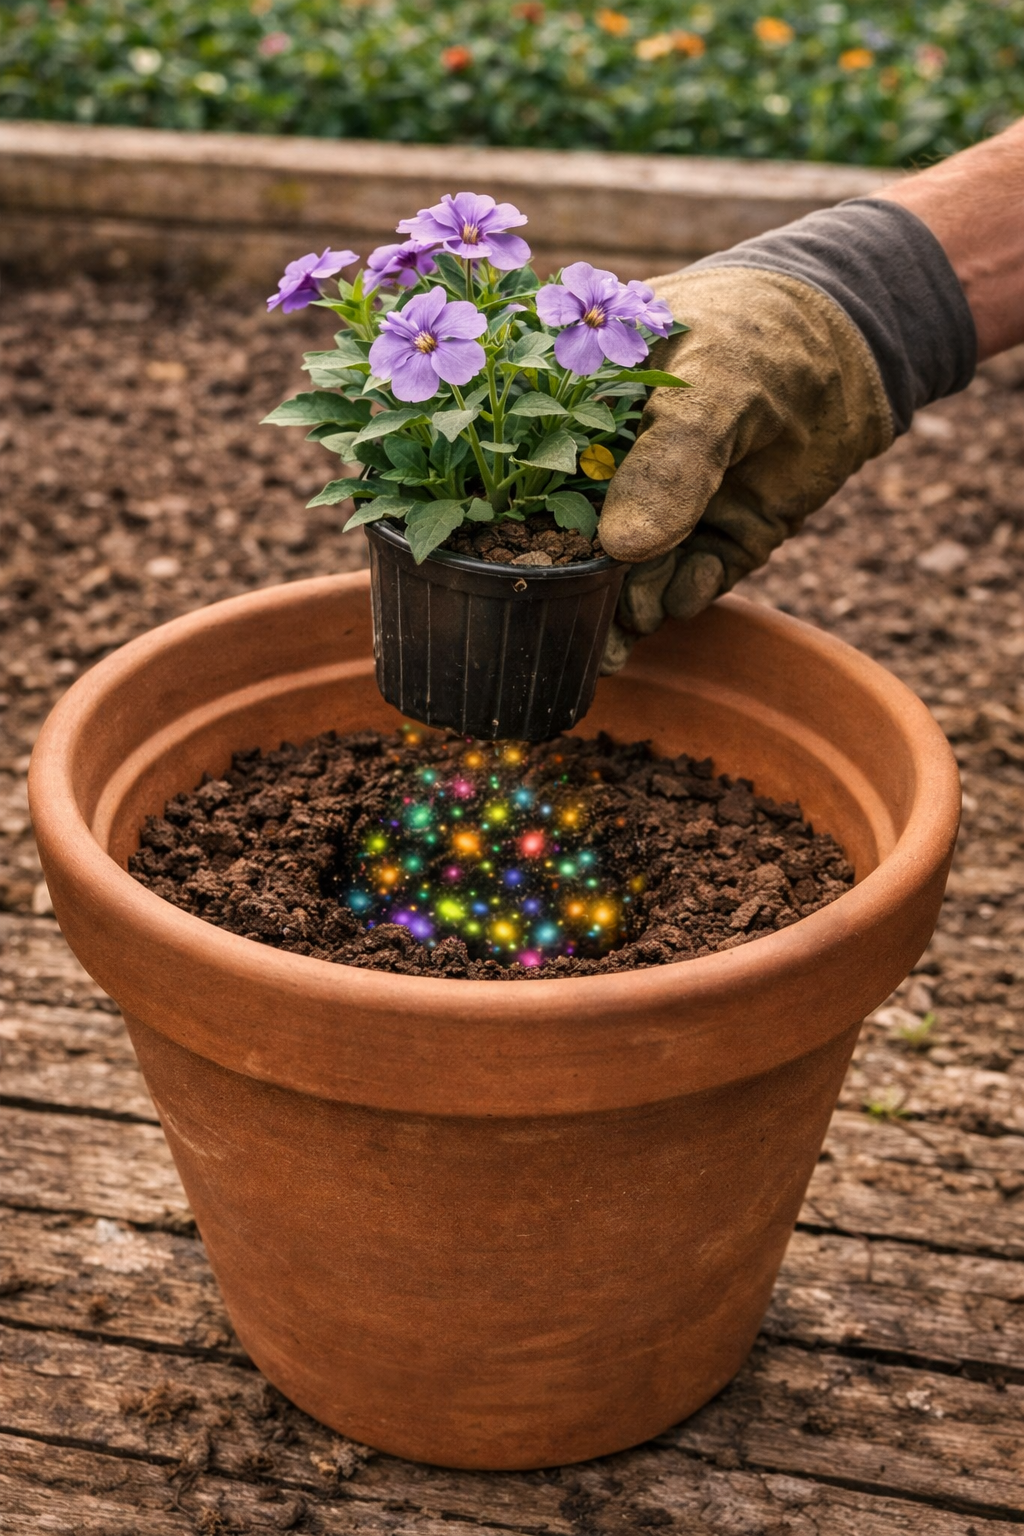
Option 3: Place your fresh worm castings under your new plant
When planting new flowers, vegetables, or shrubs, add ¼ cup to 1 cup of worm castings directly into the planting holebefore placing the plant in the soil. Set the plant on top of the castings so the roots make direct contact with the living biology and natural nutrients. As the plant establishes, the beneficial microbes in the castings help stimulate root development, improve nutrient availability, and support overall plant health. This simple step gives new plants a strong biological foundation right where they need it most.
PRO TIP: Worm castings are gentle and safe for plants. Unlike chemical fertilizers that can burn roots if overapplied, you cannot overdo it with worm castings. As you add them to your soil, beneficial microbes begin multiplying and spreading, helping turn ordinary dirt into living soil. You can start small and allow the biology to build over time, or add more at the beginning to quickly create a richer, more nutrient-available environment for your plants.
Now that you have living soil (thanks to your worm castings) you MUST treat your soil differently!
Follow these 3 Tips for Success
Keep your worm castings moist. When worm castings dry out, so do the microbes. Remember, the microbes are living and do not survive in dry soil.
Protect your worm castings from the sun. Direct sun can dry out the microbes living within the soil. This is why we use worm castings below the surface of the soil.
Feed your microbes. At the end of the growing season, we need to treat our garden beds differently. Don’t clean off all the plant matter. The plant matter can be covered in a light layer of compost or mulch for the winter if you don’t like the look of dried out plants on the surface of your garden. This is key. The decomposing plant matter is what will feed your microbes all winter long and these magical microbes are a part of what is found in worm castings. Each season, the microbes multiple and your soils will continue to improve over time, as long as the microbes are well “fed.”